3 easy ways to screenshot Vivo V15
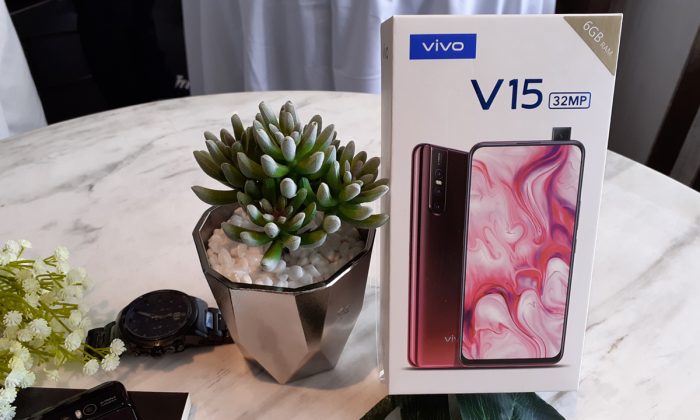
Gadgetren – V15 is the latest mid-range smartphone from Vivo that presents a variety of interesting features and attractive designs.
This Vivo V15 has a 32 MP pop-up front camera that is inside and comes out when the user takes a selfie. However, this front camera returns inward when the user uses the rear camera or exits the camera application.
This also completely fills the front of the screen without being blocked by bangs or potholes. Even though the screen is already so attractive, some users still don’t know how to take a screenshot on the V15.
For gadgeters curious how to do it, you can check out the tutorial below.
Here’s how to take a simple screenshot of Vivo V15
Physical key combination
- First, gadgets can turn on the Vivo V15’s screen first
- Next, the gadget looks for the area for the screenshot
- Once that’s set, gadgets can directly hit the volume down button and the power button at the same time in just a few seconds
- Later, a shutter sound will be heard and the screen will flash, indicating that the screenshot was taken successfully
- In addition, Gadgeter can view screenshots via the notification menu or directly in the gallery application
You could say that there are almost physical key combinations on various Android smartphones. This makes the physical keyboard shortcut popular by a lot of people, including Vivo V15 users.
3-finger swipe
- Firstly, gadgets can bring up the settings menu or the application on the VIvo V15 smartphone
- On the Settings page, Gadgeter can access the screenshot menu
- On the screenshot page, Gadgeter can immediately activate the screenshot function with three fingers
- After this function is active, Gadgeter can immediately determine the area for the screenshot
- In addition, Gadgeter can swipe the screen with 3 fingers at the same time or swipe from top to bottom
- If the screen has blinked and the sound of the shutter can be heard, the screenshot was taken successfully
- Gadgeter can view screenshots in the gallery application or in the notification menu
After the 3-finger function is activated, it can be said that taking screenshots becomes easier as there is no need to press two buttons. However, all you need to do is swipe the screen quickly with 3 fingers.
S-recording
- First, gadgets can choose the area to take a screenshot for
- Once that’s set, Gadgeter can open the quick settings menu by swiping or swiping up the screen from the bottom
- Next, Gadgeter can choose S-Capture
- In this menu, gadgeter can specify different screenshot modes, from rectangular, funny screenshot, long screenshot and screen take.
- In this case I choose Rectangular so that standard screenshots can be taken
- As usual, a shutter sound can be heard and the screen flashes
- The screenshot results can be viewed in the notification menu or in the gallery application
You could say S-Capture is great for gamers who want to take screenshots with interesting shapes. However, compared to the two methods above, S-Capture is a little tricky as you have to select the Quick Settings menu and then select S-Capture.